Today we are going to learn how to block ads with a little open source software and a $35 Raspberry Pi. This is a fun, easy project with a practical everyday use.
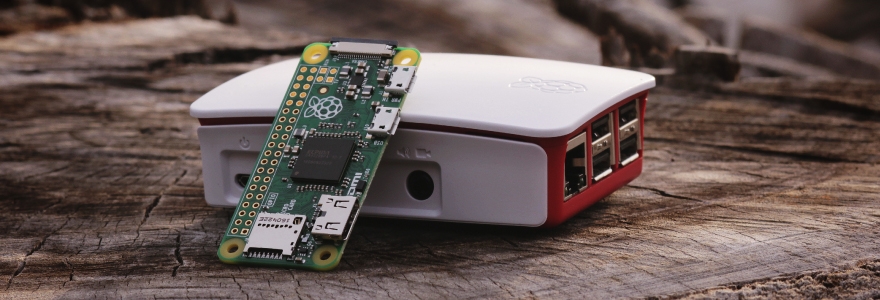
If you aren’t familiar, the Raspberry Pi is a dirt cheap single board microcomputer which has grown very popular in the maker community over the past several years. Due to its small size, cheap price and functional hardware specs this tiny computer has become a kind of swiss-army knife for makers and diy enthusiasts. There are multiple version currently available. I personally recommend the Raspberry Pi 3 – Model B as it is the most powerful at the time of writing this. These devices can be picked up online at many retailers such as this one.
The software we are going to use today is called Pi Hole. Pi Hole is an open source project which intends to assign the task of blocking annoying advertisements to your Raspberry Pi instead of your computer. Effectually, by blocking ad content in this way Pi Hole hopes to speed up the users internet experience while also improving the quality of it. As a neat side-effect all the devices, smartphones, tablets, or anything else on the same network will also have their ads blocked. Meaning every device in the network is protected instead of needing to install software on each one individually.
To start I am going to assume you have already purchased a Raspberry Pi and a microSD card of your own choosing.
First, download Raspbian Linux.
Install Raspbian onto your microsd as shown here.
Place the card into your Raspberry Pi and plug it in.
Once its connected to the internet and powered up enter the terminal so that we can update it. Once in terminal enter the following:
sudo apt-get updateNext we need to upgrade. Now type:
sudo apt-get dist-upgradeNow lets begin installation of the Pi Hole software. Enter this last part and hit return:
curl -sSL https://install.pi-hole.net | bash
The installation once it begins will warn you that this software is going to set up your Pi to act as a server and will therefore need to have a static IP address to function correctly. Select OK and continue.
Next, it will ask you to choose your preferred interface. You can choose eth0 or wlan0. Your preference here is up to you.
The next prompt will ask if you want to use your current network settings as a static address. Unless you want to change anything for your own reasons just go ahead and click “yes” again.
“Do you wish to install the web admin interface?” will pop up next. Leave it set to “on” and continue.
“Do you wish to log queries?”, again leave it on unless you have your own reasons to change it.
Now that you have clicked “ok” all the way through the install process and the installer will complete the process on its own. As soon as it is done it will present you with a chance to write down your password, and IPV4 address. Don’t forget to write this information down.
Voila! Everything is done and you can connect your devices as shown below:
The operating system of your device will determine which steps you should take to connect your devices to your new Pi Hole Ad-Blocker.
Windows
-
Right-click the Start button and select Network Connections
-
Right-click your Ethernet or Wi-Fi network and select Properties
-
Double-click Internet Protocol Version 4 (TCP/IPv4)
-
Click Use the following DNS server addresses.
-
Enter your Raspberry Pi’s IP address as the Preferred DNS server.
-
Click OK and then, click OK again
OS X
-
Click the Apple menu and navigate to System Preferences…>Network>[your network here]>Advanced>DNS
-
Click the plus sign on the left side and enter your Raspberry Pi’s IP address
-
Click OK and then Apply
Android
-
Navigate to Settings>Wi-Fi
-
Press and hold your current network and then go to Modify Network>Show Advanced Options
-
Change the IP Settings to Static
-
Enter your Raspberry Pi’s IP address under DNS 1
-
Tap Save
iOS
-
Navigate to Settings>Wi-Fi>[your network here]>DNS
-
Enter your Raspberry Pi’s IP address.


